Photon Feeder Firmware: When the Programmer Will Not Connect
A powered feeder is an STM32 board with two motors hanging off it, so flashing firmware is part of owning one. Opulo's instructions work as written: mount the programmer, hold the boot button, connect, write the file. When they fail, the feeder goes quiet in a way that looks like a single fault and is actually three. Two are solved with software and one wants a soldering iron.
This page is about the programming side of a Photon feeder. Whether a feeder will run on a given machine at all is a separate question, answered on LumenPnP feeder compatibility.
Read the firmware version before you flash anything
Every feeder arrives with firmware already on it, so this trip is only needed for a new release or a custom build. The version check uses the feeder itself and no host software at all:
- Press and hold both buttons.
- Wait for the mode light to come on, which indicates a mode switch, then keep holding until it goes off.
- Watch the indicator light and count the flashes, then release.
| What the indicator does | Firmware on the feeder |
|---|---|
| One green flash | v1.0.3 or newer |
| One red flash | Any beta build |
| Light stays on, no flash | v1.0.2 or earlier, which Opulo says to update |
Write that reading down. It is the same measurement you compare against once a flash finishes, and on a feeder in question it is the cheapest evidence you have.
Programming over UART

The programmer is a small USB board that plugs into two plated holes on the feeder. On the 3-pin header, the jumper has to connect the centre pin to the pin marked 3.3v, because the feeder logic runs at 3.3 V. The documentation calls this out before anything else, and it is the first thing to verify when nothing connects.
Install STM32CubeProgrammer, then set up the connection:
| STM32CubeProgrammer setting | Value |
|---|---|
| Interface | UART, chosen in the dropdown beside Connect |
| Baudrate | 9600 |
| Parity | Even |
| Read Unprotect (MCU) | unchecked |
| TZEN Regression (MCU) | unchecked |
| Start address, on the download tab | 0x08000000 |
Press the refresh icon to scan for devices, then pick the port that appears. On macOS it starts with cu.usbmodem.
Entering the bootloader is physical. Hold the BOOT button down and, while holding it, insert the programmer pins into the plated holes; the holes are offset so the pins rest against the plating. Release the button once contact is made. If the indicator light flashes red, the feeder did not reach the bootloader and the attempt has to be repeated.
The feeder does not need to be on a rail or in a machine for this. The programmer powers the board, so flashing a shelf of feeders before mounting any of them is a reasonable way to spend an afternoon.
Two connection problems come up more than the rest. A programmer inserted in the wrong orientation will not connect, and gentle pressure on the side of the programmer often fixes a marginal one, since the pins only have the plating to grip.
The link is slow. At 9600 baud with even parity and eight data bits, every byte costs 11 bits on the wire, about 1.15 ms, or roughly 870 bytes per second. A feeder image takes long enough that starting the write and doing something else is the normal rhythm.
When the bootloader will not open
A batch of feeders ignores the BOOT-button route. The alternate entry, from the same page, reverses the order:
- Insert the programmer into the programming port without pressing the BOOT button. The status light turns red.
- Press and hold both feeder buttons. Light patterns play; when red and blue flash and then stop, release.
- Reattempt the connection.
If that also fails, the problem is electrical rather than procedural, and it has a documented cause.
The transceiver lot that blocks the programmer
Opulo traced a batch of feeders to their chip supplier. The RS-485 transceiver in those units came from a different lot carrying the same part number. In the earlier lot, the DE/RE pins default to a disabled state when left floating, which leaves the bus free for the UART programmer. The second lot leaks enough current on those pins to end up enabled, so the driver interferes with the programmer's traffic.
Opulo's own wording is worth keeping: this issue does not affect the feeder's normal operation. The feeder still feeds tape and still answers on the bus. What it cannot do is accept firmware over UART, which makes it a trap for anyone who only discovers it months later, when a new release arrives.
Two fixes are documented, and both are permanent.
Fix one: flash over SWD
SWD writes firmware without involving the RS-485 path, so the transceiver's state does not matter.
Tools: a Black Magic Probe (or a Segger J-Link, or another SWD programmer) and a pogo-pin SWD interface with the bottom of the clamp removed, or bodge wires into the same pads. The pads sit under the version number sticker on the feeder, so the sticker comes off first.
Download the .elf file from the newest release of the Photon firmware, install arm-none-eabi-gdb, then load:
arm-none-eabi-gdb -nx --batch \
    --ex target extended-remote /dev/BLACK_MAGIC_PROBE_PORT \
    --ex monitor tpwr enable \
    --ex monitor swdp_scan \
    --ex attach 1 \
    --ex load \
    --ex compare-sections \
    --ex kill /path/to/firmware.elf
Replace the device path and the firmware path with your own. compare-sections is the part to keep: it reads the flash back after writing, so a load that half happened is caught at the bench instead of at the machine.
The new firmware carries a workaround for the transceiver behaviour and brings UART programming back. It also changes the bootloader entry: from then on, hold both buttons until the blue and red flashing stops, which is the same pattern as the alternate entry above.
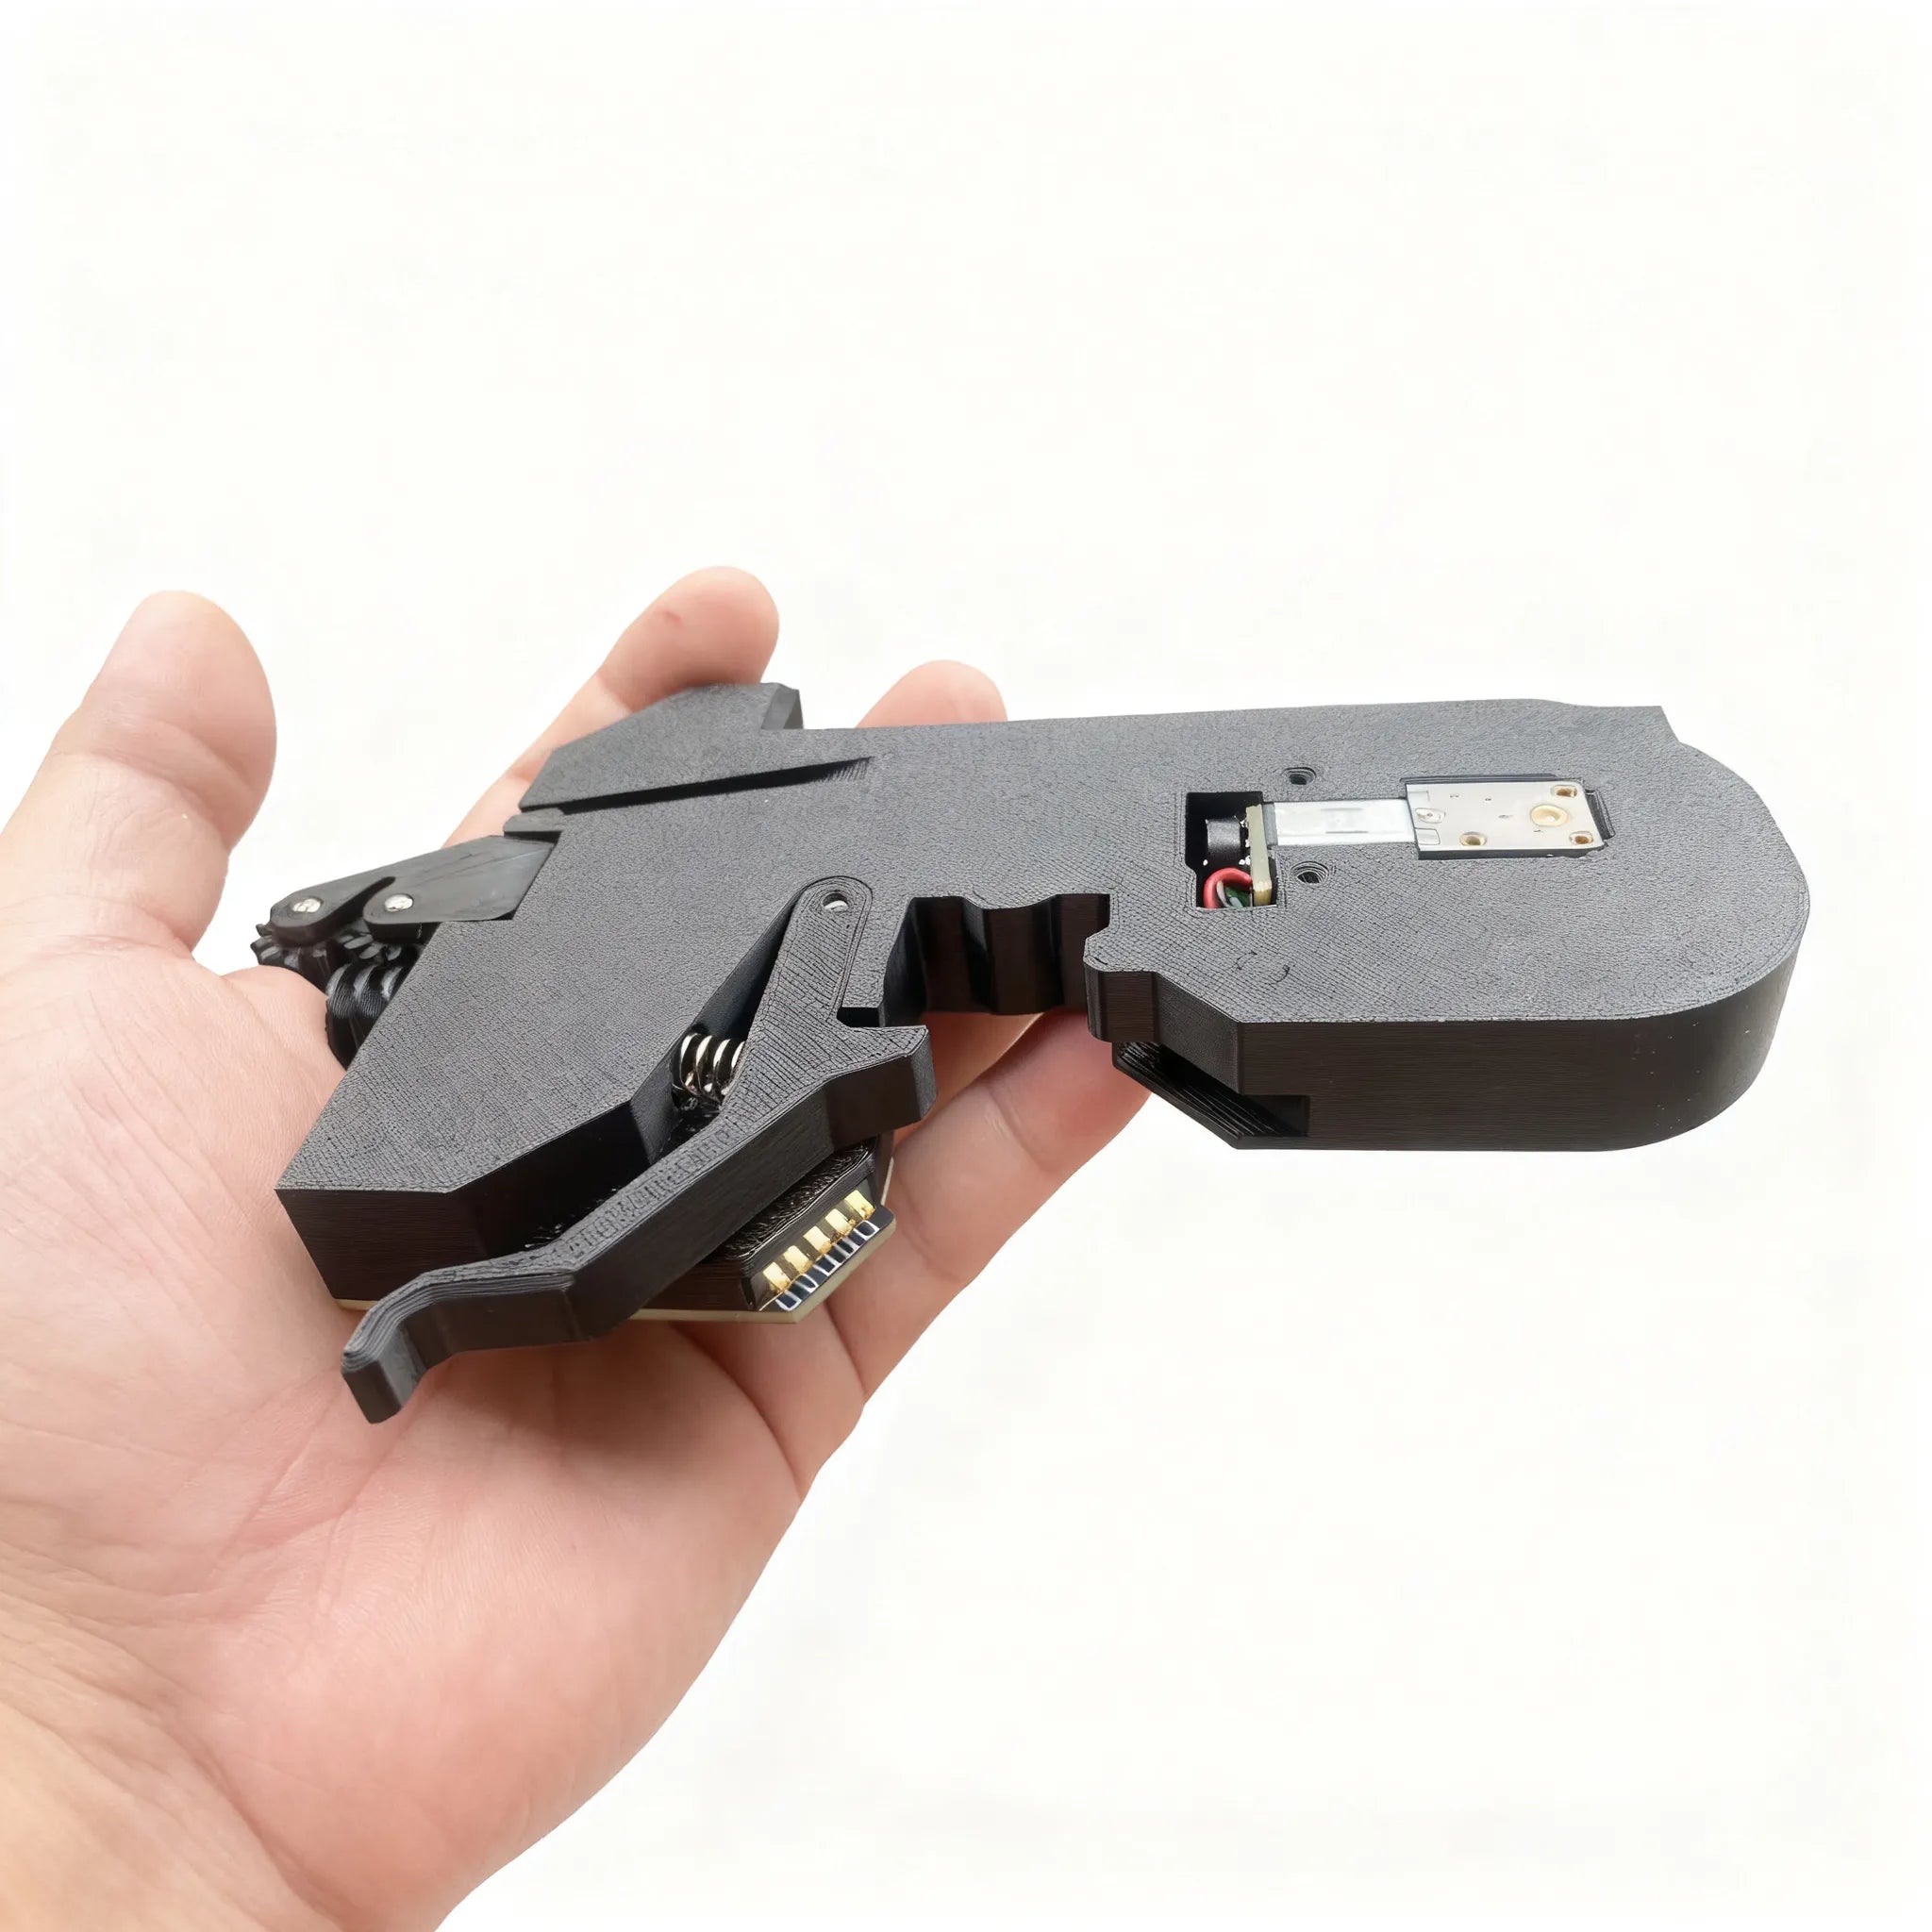
Fix two: the interposer over U6
An interposer board soldered over U6 on the feeder motherboard holds the transceiver's enable pins in a state the programmer can work with. One board is needed per feeder, and it comes from Opulo on request. The installation is a partial teardown:
- Lever arm screw out while holding the lever arm in place.
- Retention arm off, mindful of the spring jumping out of its holes.
- Drive motor cover off, then the PCB lifted away from the frame.
- Drive motor cable unplugged, peel motor lifted out by its worm gear, peel cable unplugged. What remains is the feeder motherboard.
- The interposer tacked to pin 8 of U6, then the remaining pads soldered to the leads on the other side.
Reassemble in reverse. Verify with a UART programming attempt, which is what Opulo specifies: the alternate bootloader method is explicitly not the test.
What the version sticker tells you on a used feeder
The SWD pads hide under the version sticker, so a used feeder still wearing that sticker has not been through the SWD step. Whether it needs the step depends on which lot its transceiver came from, and that is not visible from the outside. The flash test above is the honest check rather than the sticker.
Feeders bought new from Opulo arrive pre-programmed, and the powered feeders PikkoBot sells come from that path: $299 for the 8 mm and 12 mm four-pack, $319 for 16 mm, $329 for 24 mm. The AS2 servo line is a separate controller and does not answer a Photon bus scan, so none of this applies to it.
Back on the machine
Flash off the rail, mount afterwards. A feeder reads its slot address from the slot's EEPROM when it is mounted, so its part assignment follows the feeder rather than the slot, and a freshly flashed unit scans in with no part set on it. Everything after that, including the scan failures that have nothing to do with firmware, is covered in the feeder compatibility table and in the UUID conflict case.
A Vertex 4 runs a Marlin mainboard on 24 V with 50 slots, and its rail matches the LumenPnP rail dimensionally, so a Photon feeder mounts and answers a scan with no wiring work and no firmware work. Feeders shipped with the machine are already programmed, which means the procedure on this page is one you keep for the day a release lands, not one you do on arrival.
Related pages
- Feeder overview: the indicator light patterns, drive and peel modes, and the slot budget
- OpenPnP feeder types: how the host talks to a powered feeder in normal operation
- Mounting feeders: rail spacing and tape loading once the programming is done
- How many feeders do I need: line items against the 50 available slots