Bottom Vision on Shiny Parts: Which Correction Applies
Bottom vision decides where a part sits by deciding which pixels are brighter than a number. A matte part cooperates. The pads come back at one level, the background stays under it, and the rectangle that MinAreaRect returns lands on the pads. Put a part with polished tinned pads or a mirror finish in front of the same pipeline and the number that worked all morning is wrong at most angles.
On a Vertex 4 this costs more time than it does on a machine with vacuum sensing, because a failed pick is reported by the bottom camera and not by a pressure threshold. A bad vision result on a shiny part arrives looking like a bad pick, and the feeder gets blamed.
The exposure chain has its own page. What follows is about the surface: how a highlight breaks the measurement, what the log tells you about which side to fix, and which of the six corrections fits which symptom.
What the stock pipeline does with a bright pad
The pipeline OpenPnP ships with is a chain of filters, and each one either passes a pixel or kills it. From ReferenceBottomVision-DefaultPipeline.xml in the source:
- Threshold ships at 100, range 1 to 254. Its own tooltip describes it as the brightness threshold that isolates the shiny contacts of a part.
- Min Detail Size ships at 0.01 mm² of contour area, with a ceiling of 0.25 mm².
- A Gaussian blur runs at kernel size 9, before a circular mask set from Max Part Diameter.
- A MaskHsv stage ships with a green band (hue 60 to 130, saturation 32 and up). The background calibration overwrites it with whatever color it finds on your machine.
- What survives the mask goes binary, becomes contours, loses anything under the minimum detail size, and MinAreaRect fits one rotated rectangle around the rest.
That rectangle is the whole answer bottom vision needs: a width, a height, a center and an angle. Two debug PNGs, prefixed bv_source_ and bv_result_, are written on every pass and land in the snapshots folder.
Every stage above asks the same question about each pixel: is it above the cutoff?
Where the cutoff comes from
The cutoff is not a value you set to taste. The background calibration fits it from images of the empty nozzle tip, looking for the brightness under which the non-keyed background stays. In the source, that search runs between 32 and 128 out of 255. If the value it has to use lands above 127, the calibration reports the background as too bright and prints its own advice: eliminate highlights and reflections, use a shade behind the nozzle, renew the blackening on dark parts of the tip, clean the tip and make it dull if it is shiny, and remove light sources that reflect off the tip. That list addresses the nozzle tip, and it is what OpenPnP has to say about shiny hardware in the frame.
The calibration also blots out a disk at the center of the frame before it fits anything, sized at Min Part Diameter minus twice Max Pick Tolerance. The purpose is stated in the docs: shiny elements on the tip, a metallic needle or a worn face, are not treated as a problem there, because the part is assumed to cover that area. What sits outside the disk, inside the circle set by Max Part Diameter, is what the cutoff is fitted against. This is part of machine calibration and it re-runs with tip calibration, which OpenPnP renews at least on every home.
The result is a number fitted on an empty tip, under the light that was in the room when the machine last homed. The part that arrives later has its own relationship to that light.
Two ways a highlight breaks the measurement
Specular reflection is directional. On a polished pad, the level the camera sees depends on where the reflection of the LED ring lands, and that moves with the rotation of the part and with its position in the frame. OpenPnP's notes on multi-pass vision name the effect directly: light reflection angles change how beveled and angled surfaces are lit. The vision compositing notes make the same point about viewing angle and add that centering the feature in the frame each time cancels most of the resulting error.
Before any of that helps, there are two shapes of failure to tell apart.
A torn contour. The lit half of a pad row climbs above the cutoff and the other half drops under it. Contours come back for the lit side only, MinAreaRect bounds that, and the rectangle center sits off toward the highlight. The measured size comes back smaller than the part, which matters on a machine with a part size check enabled: the log line reads as a part that is too small, and the part on the tip is fine. This failure is repeatable, and repeatability is what makes it look like a calibration problem.
An empty frame. If nothing on the part clears the cutoff after the blur, or what clears it is smaller than the minimum detail size, the pipeline returns no result at all. You get a failure instead of an offset, and the part is still on the tip.
Clipping is the third thing that happens to shiny metal, and it has its own test: once a pad saturates, the gaps between the pads are no longer darker than the metal, and the mask reads a pad row as one bright region.

The error line names the owner
Bottom vision raises four different errors depending on how far it got, and each one points at a different fix. The strings below come from ReferenceBottomVision.java.
| Log line | What happened | Where to look first |
|---|---|---|
No part on nozzle. or Part mismatch with part on nozzle. | Raised before an image is taken. The nozzle holds no part object, or a different one. | Nothing to do with lighting. Check the pick and the part assignment. |
ReferenceBottomVision (X): No result found. | The pipeline ran and returned no rectangle. | Detection died. Open bv_result_ from the failed pass. |
Part X width too small: nominal ..., limit ..., measured ... | The optional part size check ran against the measured rectangle and failed it. | A torn contour measures small. Check the highlight before the feeder. |
bottom vision offsets length ... larger than the allowed Max. Pick Tolerance ... on nozzle tip ... | Something was detected, but its center is outside the tolerance set on the tip. | Either the part sits off the tip, or the detected region is a fragment of it. |
The last two are the ones that mislead. On a Vertex 4, no vacuum sensor catches a bad pick, so a torn contour does not announce itself at the nozzle. It reaches you as a size that came back small or an offset that tripped the pick tolerance, and the natural reaction is to pull the tape and check the feeder.
A test that separates reflection from geometry
Rotate the part and shoot it four times before you change a number. Run Test Alignment with the camera preview open, rotate the nozzle 90 degrees, run it again, and keep the exposure and the threshold identical between passes. Log the measured width and the offset each time.
If the rectangle changes size, or moves from one edge of the part to another, as the rotation changes, the cause is specular. Nothing about the part's geometry changed between passes. If the rectangle stays on the same physical feature and the offset holds steady, the reflection is not your problem, and the trail leads to the tip or to camera calibration.
The debug PNGs are the other half of the test. bv_source_ shows the frame the pipeline worked on and bv_result_ shows the rectangle drawn over it. Half a pad row lit in bv_result_ is a threshold problem. A pad row washed into a single bright area in bv_source_ is the clipping case, and exposure is the fix.
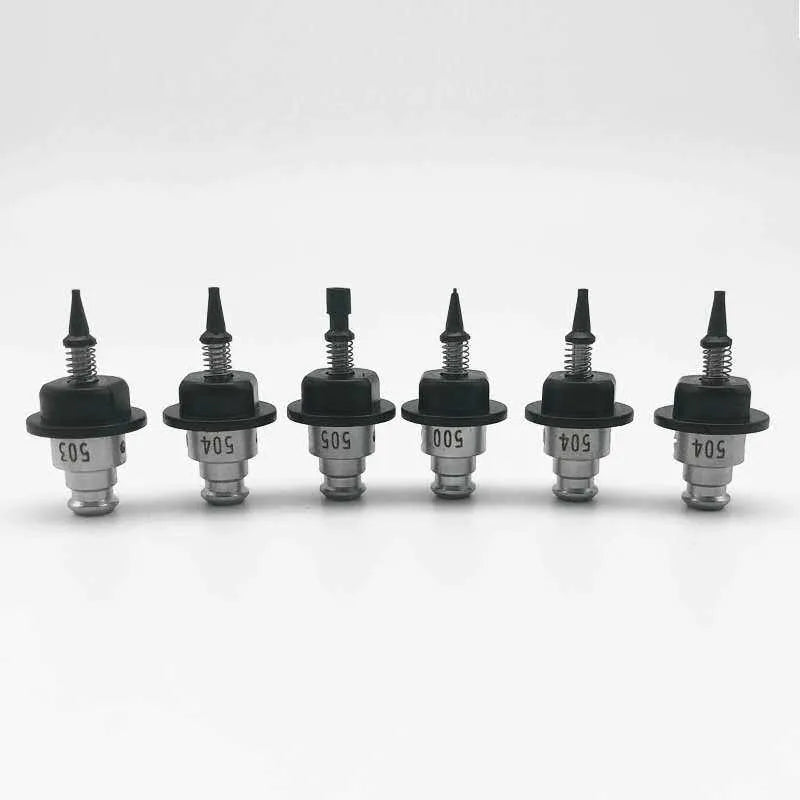
The six corrections, and what each costs
| Correction | Symptom it fits | What it costs |
|---|---|---|
| Max Part Diameter (the circular mask) | Peripheral glare and bright background outside the part | One field per nozzle tip. Set too small and it cuts real pad area out of the frame. |
| Threshold and Min Detail Size | Part visible, but the contour is fragmented or noisy | A package-level specialization to keep it off other parts. The value that fixes one package can break another, and any lighting change moves it. |
| Background calibration and the tip | A fitted cutoff that sits too high | Re-runs with tip calibration on every home. Its diagnostics tell you when the tip's shine is the cause. |
| MaskHSV with camera white balance | A background with a usable color to key out | Needs a key color at all. OpenPnP's auto white balance bleaches green areas, which makes a consistent threshold harder to pick. |
| Symmetry stages | A bright surface that no single threshold describes | Needs a part with symmetry. For an asymmetric one you switch the symmetry off and tune the threshold again. |
| Vision compositing | Parts larger than the camera view, and lighting that varies across the part | Extra shots, so more machine time. Needs the footprint defined and a camera roaming radius. |
DetectRectlinearSymmetry is the stage written for this problem. It compares the image to itself for left-right and upper-lower mirror symmetry instead of asking which pixels are bright, so it needs no threshold, and for a symmetric part it needs no tuning. The defaults are worth knowing before you edit them: gamma 2.5, which pushes the bright parts up; smoothing 5; and minSymmetry 10, which the docs warn is image dependent and only usable for individual settings. A bent pin will not shift the bounding box the way it does in the threshold pipeline, because the match is probabilistic rather than a black-or-white decision on each pixel.
Two limits come with it. It needs symmetry to find. SOT-23-5 and a few other packages only partly match, and for a genuinely asymmetric part you turn the symmetry off and adjust the threshold again, which is the pipeline you were trying to leave. DetectCircularSymmetry, the variant for round features, carries its own shiny-surface caveat: the docs list LED reflection highlights among the patterns that can produce a circular candidate where there is no circle, and point at the strictest score function, ring median variance, to reject interrupted rings.
Multi-pass vision is the other lever. Pre-rotate with Max vision passes (default 3, Max linear offset at 1 mm, Max angular offset at 10°) re-centers the part and measures again, and repeated centering is what cancels a reflection error, since the same surface returns the same light once the part sits dead center. Raise the passes after the pipeline stops lying. A torn rectangle converges just as reliably as a good one, only onto the wrong half.
The order I keep to
- Read the error line first. A no-result error points at the pipeline. A size or pick tolerance error points at the highlight.
- Open both PNGs from the failed pass before touching a slider.
- Rotate and re-shoot to decide whether the cause is directional.
- Fix what is predictable: exposure, the tip's shine, the circular mask, the minimum detail size.
- Change the algorithm last. Symmetry stages for symmetric parts, MaskHSV where a key color exists, compositing where the part is too large for one shot.
- Keep the pipeline edit at the level it needs. Vision settings inherit from default to package to part, so a package-level specialization reaches every part that uses the package, and a part-level one stays there. Note down which level you touched, because a package threshold set for a QFN follows you to the next QFN.
On the boards I run, the parts that caused the most of this were QFN pad rows and tinned through-hole sites. The tombstoning fix and the nozzle choice both assume vision has already measured the part correctly, so it is worth settling this before you chase placement defects downstream.