Backlash and Backlash Compensation
A belt axis has two ways to lose position: slack in the drive train, and steps the motor never actually makes. They leave the same mark on a finished board and they need different fixes.
On a Vertex 4 the X gantry runs on a NEMA 17 stepper pulling a GT2 belt along an MGN12H rail. Reversing direction means the motor has to take up the slack in that belt before the carriage moves at all. That distance is the backlash, and it belongs to one machine: belt tension, pulley runout, idler flex, and how warm the room is all move it.
OpenPnP can hold a fixed offset on the axis to hide most of it. The question is whether you should, and where the number in that setting comes from.
The size of the problem on this class of machine: a Vertex 4 is rated down to 0402 parts, and under IPC-7351 a chip part gets a placement budget of 0.1 mm in total. A tenth of a millimetre of slack spends that budget before the machine has placed anything, which is the whole reason the axis offset exists.
The Error Only Shows Up After a Reversal
Here is the measurement the OpenPnP wiki recommends, and it takes about five minutes:
- Put the top camera over the datum board so the 1 mm dot in the middle of the Opulo logo is in view, and zoom in as far as the camera feed allows. That dot is the homing fiducial.
- Set the jog distance in Machine Controls to 0.01 mm.
- Step in one direction until you clearly see the image move. Stop there.
- Reverse, and count the steps back until the image starts to move the other way.
- Take that count, subtract one, and multiply by 0.01 mm. That is your backlash offset.
The shape of the result matters as much as the number. If your machine is off by 0.2 or 0.3 mm when you jog in opposite directions, and accurate when you keep jogging the same direction, you are looking at slack. The OpenPnP wiki lists that pattern under mechanical debugging, exactly as described.
Two things imitate backlash and are cheaper to rule out first. A down-looking camera whose lens lock screw is loose will move on its own and report a backlash error that isn't there. A wrong units-per-pixel value over- or under-corrects every offset the vision system applies, which reads as a placement error rather than an axis error. The accuracy chain behind that number is covered in placement accuracy on a desktop machine.
Backlash Or Lost Steps?

Measure the same point four times through a reversal cycle: in, back, in, back. Backlash alternates between the same two values, and it keeps alternating all afternoon. Lost steps produce a different value each time and never return to the first one.
That difference decides what you do next. Lost steps are a motor problem: check drive current and the acceleration limits before touching compensation, because no offset will fix a machine that is shedding steps. Belt tension belongs on the same list, and the pluck test is on the kit assembly page.
The Five Compensation Methods
OpenPnP applies backlash compensation on the axis itself, not in the driver firmware. Older setups did it in the G-code, overshooting the target and then returning at a fraction of the feed rate with the backlash-offset-x and backlash-feed-rate-factor driver attributes. The OpenPnP wiki marks that recipe as no longer needed for 2.0 and newer.
| Method | What it does | What it costs |
|---|---|---|
| None | No compensation, the offset is ignored | Nothing |
| OneSidedPositioning | Always arrives at the target from one side | One extra move plus a full still-stand between motion segments |
| OneSidedOptimizedPositioning | Same, but the extra move only happens when approaching from the wrong side | Half the extra moves |
| DirectionalCompensation | Adds the offset to the target in the direction of travel | No extra moves and smooth jogging, but the offset has to match the real slack closely |
| DirectionalSneakUp | Directional, with the last part of the move at reduced speed | Needs its own sneak-up distance, and jogging is less fluid |
The tolerance on the offset is what separates the two families. One-sided positioning doesn't need an accurate number, only one larger than the real slack, because the machine takes up the whole offset from the same side every time. Directional methods add the offset to the coordinate, so a value that doesn't match the mechanical slack leaves a residual error. The speed factor sets how slowly the final approach runs; 0.25 means a quarter of the axis feed rate.
Z is not compensated, and the OpenPnP wiki explains why: nozzle tips are spring loaded, so the spring absorbs what would otherwise be slack.
What The Machine Ships With
The recommended configuration for a LumenPnP-style machine is OneSidedPositioning on both X and Y, with a backlash offset of 1.000 mm, a speed factor of 0.25 and a tolerance of ±0.030 mm. The same page says the calibration itself is not needed, since the shipped config already applies a tested compensation.
The 1.000 mm figure is not a claim that the belt has a millimetre of slack. For one-sided positioning the offset only has to be larger than the real slack, and a real measurement on a healthy machine is usually much smaller. The OpenPnP wiki's own recipe describes a belt machine holding 0.05 mm offsets with good repeatability. If you typed your own measurement in and set a one-sided method, the carriage parks at the same place either way.
The tolerance number is the one worth thinking about. OpenPnP's own default is ±0.025 mm and the recommended config uses ±0.030 mm, because a looser tolerance can buy a cheaper method: the tooltip on that field says a larger tolerance may allow a more efficient compensation method. Tolerance is a trade, not a quality setting.
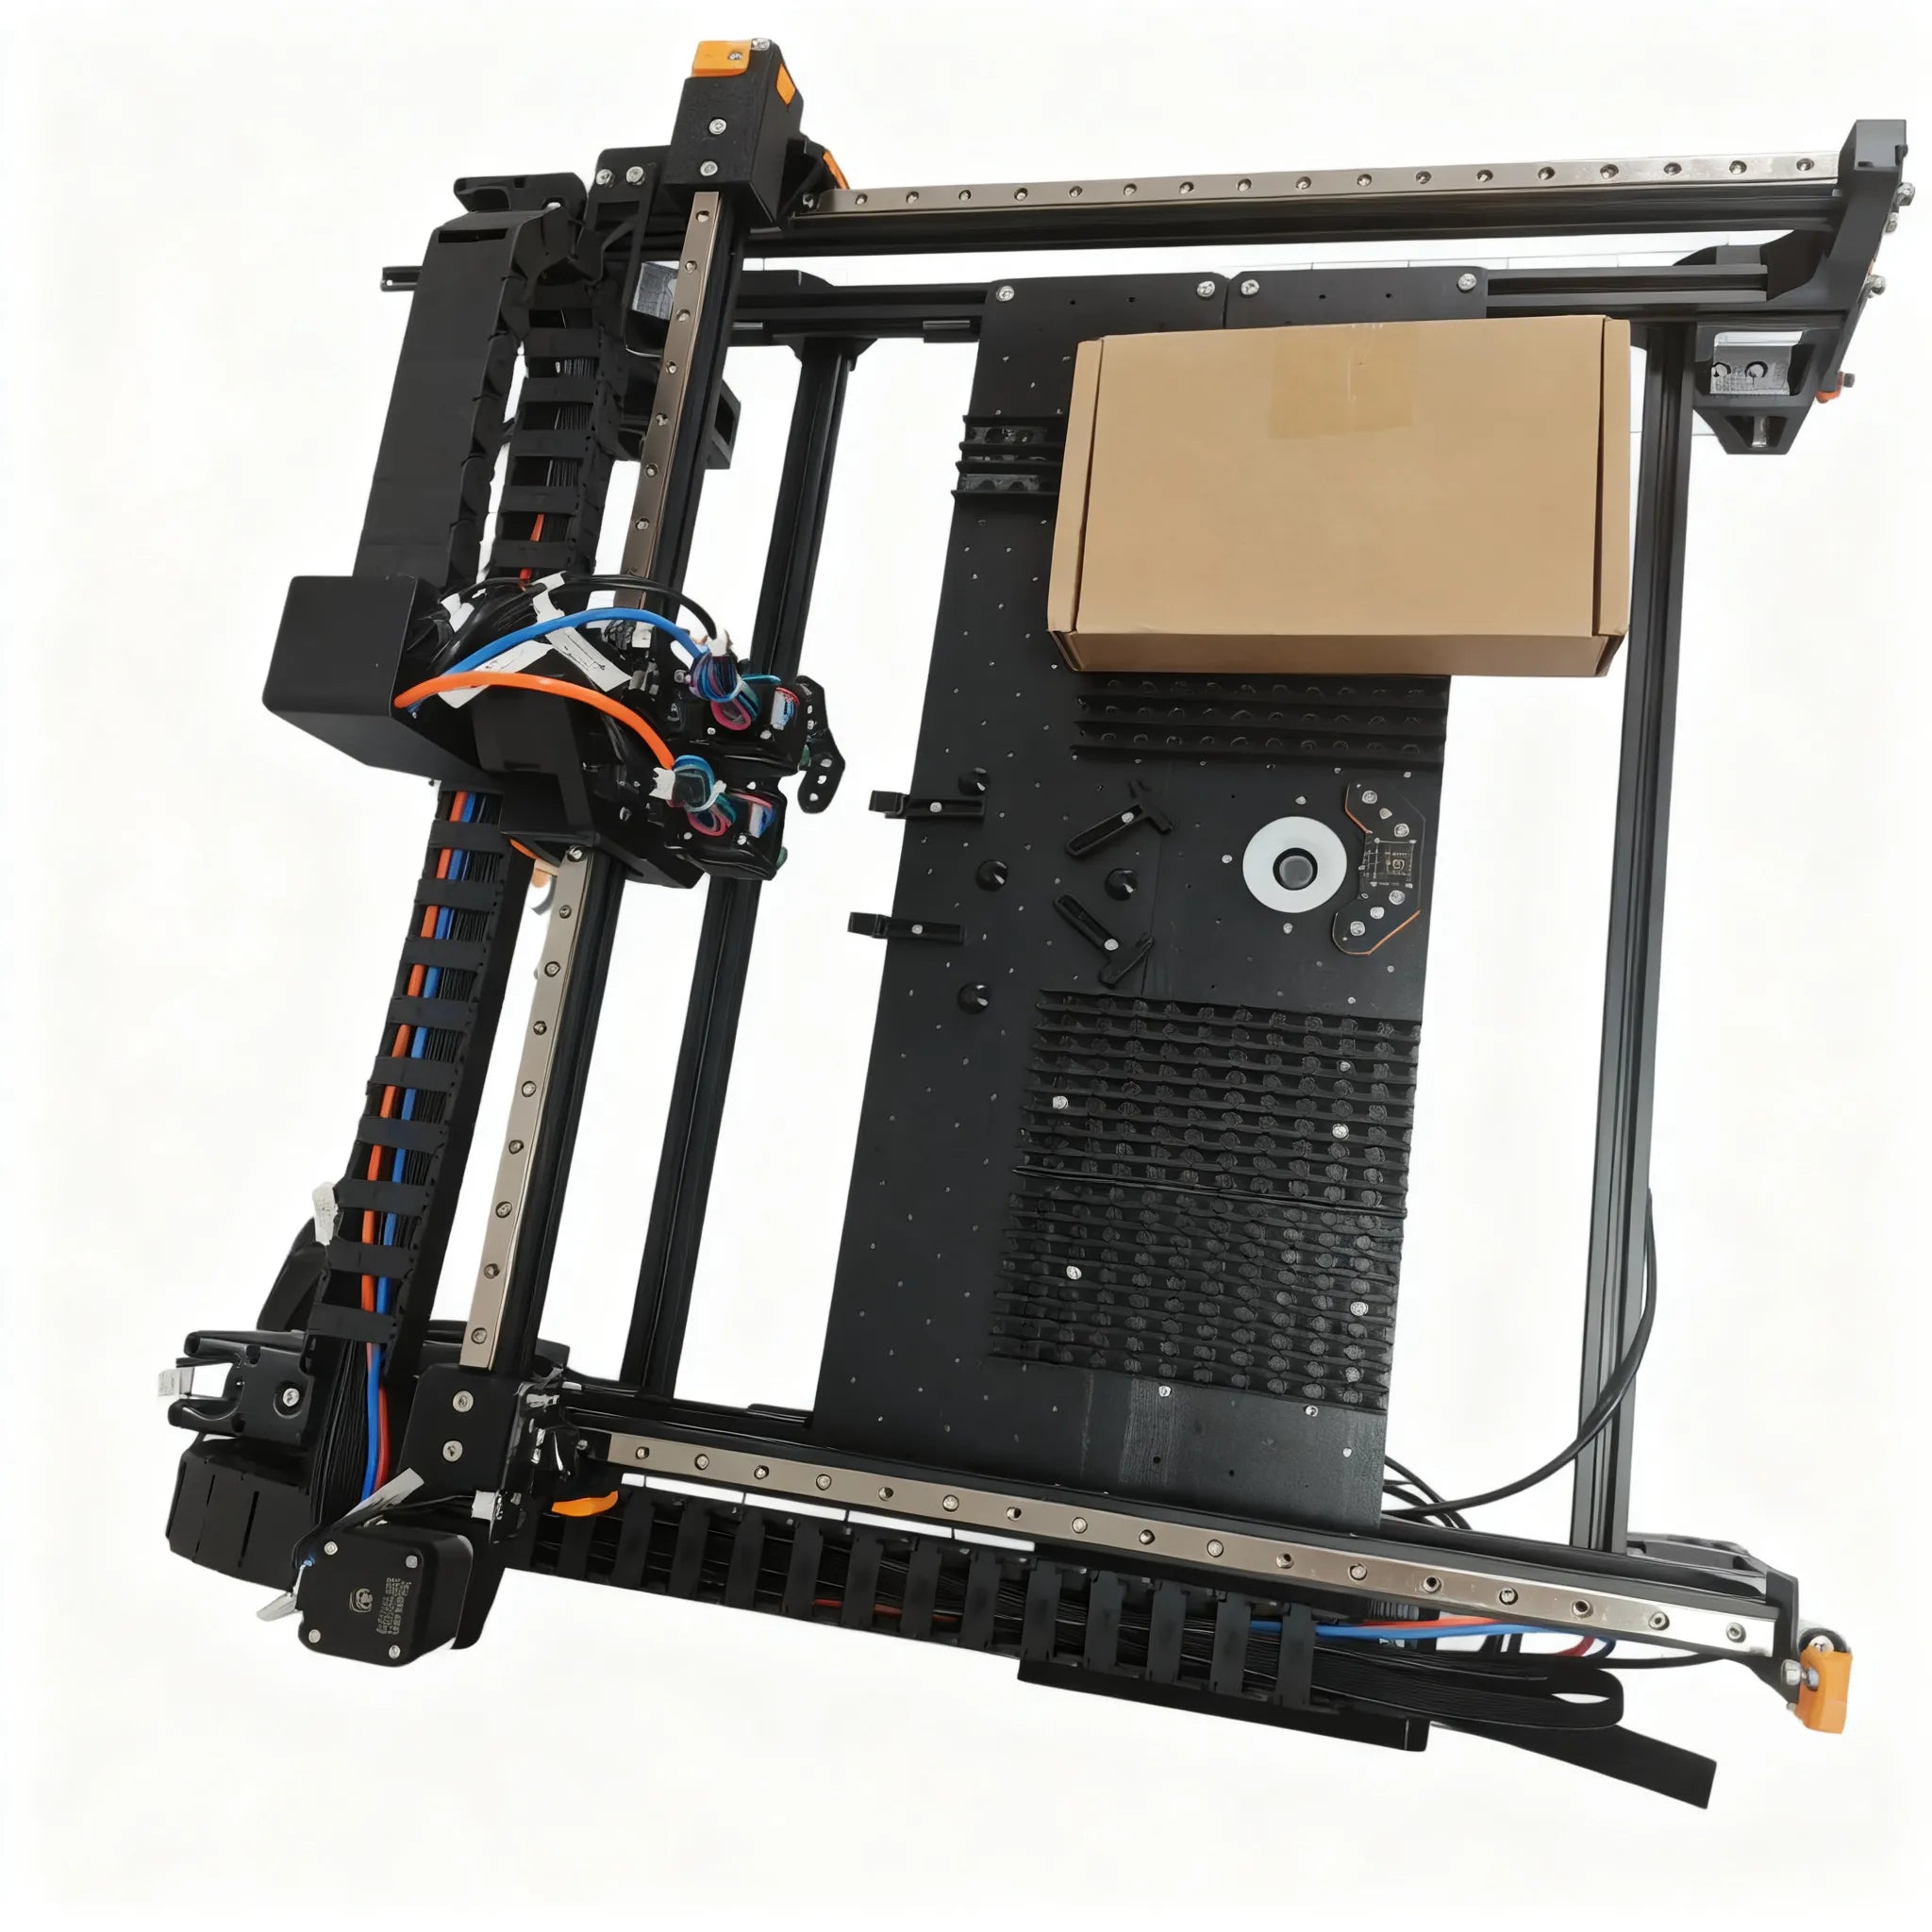
On a Vertex 4 the compensation values live in the config you load, and the JUKI variants of that config also carry the nozzle tip calibration and the S255 fix. Loading a different config replaces the axis settings along with everything else, so export yours first if you've tuned it (downloads).
Running The Automatic Calibration
Issues & Solutions has a step for this: Calibrate backlash compensation for axis x, then the same for Y. It works from the primary calibration fiducial, and it takes up to 15 minutes per axis. Opulo's own documentation calls it optional and recommends running it only when you are chasing a placement accuracy problem.
Before you start, three settings from that documentation:
MOVE_TO_COMMANDhas to send acceleration before the move:{Acceleration:M204 S%.2f}on the first line, then theG1move.- Driver Settings → Motion Control Type =
ConstantAcceleration. - Raise Command Timeout to 10000 ms so the calibration doesn't trip it. These are calibration-time settings; you can put Motion Control Type back afterwards.
Acceleration control is not a nicety here. Without it the routine refuses to finish and reports that the axis appears to overshoot even at the lowest speed factor, and that automatic compensation is not possible.
Inside, the routine is doing statistics on your belt:
- Every measurement starts from the same state. Before reading the image it moves 90 mm in the opposite direction and comes back, then waits 500 ms for the machine to settle. That round trip is why the process feels slow, and it is what makes the numbers comparable.
- A distance sweep. It approaches from each side over a geometric series of distances, each one √2 times the last, from a couple of axis steps up to 10 mm, plus one full-range 90 mm move. Slack that only appears after long moves shows up here.
- A speed sweep. The same test at speed factors 0.25, 0.33, 0.5, 0.75 and 1.0, to see whether the slack changes with speed.
- Up to four correction passes per speed. Each pass applies 90% of the error it measured and stops early when the error lands inside your tolerance.
Your ±Tolerance value is not used as typed. The routine rounds it to a whole multiple of your axis's smallest step, and never finer than 0.01 mm, or the camera's sub-pixel unit when that is coarser. Type ±0.030 on a machine with coarse resolution and it becomes ±0.05. The lesson is that asking for accuracy the machine can't measure or move won't produce a better number.
Then it picks a method, in this order:
- If the sneak-up distance the axis needs is over 0.8 mm, the smooth methods are off the table and it selects
OneSidedPositioningwith the largest slack it measured. - If the slack at the lowest speed is larger than a sneak-up move can cover,
DirectionalSneakUpwith the measured sneak-up distance. - If the measurement was consistent across all five speeds and the average is under your tolerance,
None. The axis is switched off, which is the right answer for a tight machine. - Consistent and above tolerance,
DirectionalCompensationat the highest speed factor that stayed consistent. - Consistent at some speeds only,
DirectionalSneakUp.
Two things surprise people here. Compensation does get switched off on its own when the machine measures tight, so running the calibration is a measurement rather than an admission of a fault. And the result is checked immediately: the routine performs a visual homing cycle because the new setting can move the coordinate system, then runs a 1 mm step test and a series of random moves between the smallest distance and 90 mm, plotting distance, speed and step tests in the diagnostics tab. A step test that fails prints a message pointing at camera units per pixel and the fiducial Z height, which means the error is upstream of backlash and the calibration sequence is where to look.
After You Accept The Result
For the one-sided methods, the wiki recommends pointing the offset in the direction where extra travel is harmless, inside the nozzle tip changer for example, and then leaving the sign alone. Changing it later can shift the coordinate system.
Verify by homing twice in a row and watching where the head parks. If the parked position drifts between homings, the homing fiducial capture is what moved, not the axis. Re-approach the fiducial from both sides after a job and confirm the two readings still differ by your offset and nothing more.
Backlash lives on the axis, so a nozzle change doesn't invalidate it. Tip measurements are the ones that don't survive a swap, and nozzle swap and recalibration covers what has to be redone.
Fix The Slack Before You Compensate For It
The OpenPnP wiki is direct about this: reduce backlash mechanically first, and use software compensation only for slack that a properly built machine can't remove by design. Belts should be tight enough to twang. Lead screws want anti-backlash nuts.
Opulo's documentation goes a step further and suggests that if compensation produces a noticeable improvement, that is itself a sign of loose belts or another mechanical fault worth fixing.
So the sequence that saves time: check belt tension, check steps per mm, then measure backlash, then decide whether to compensate. Steps-per-mm error grows with distance instead of appearing at reversals, and it moves every placement on every board.